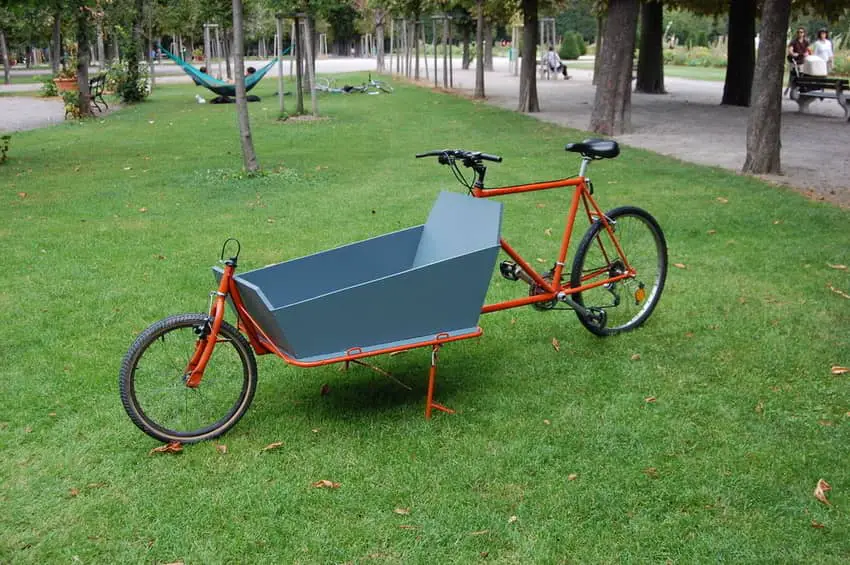
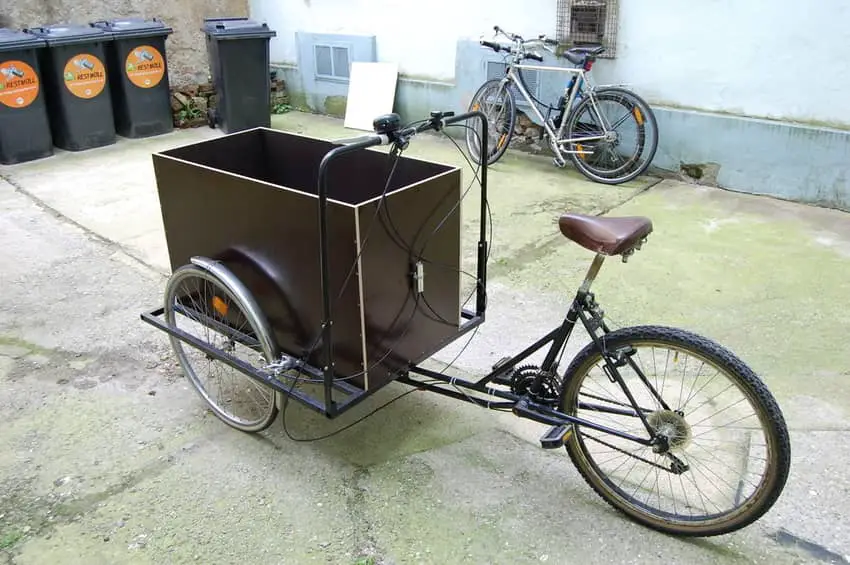
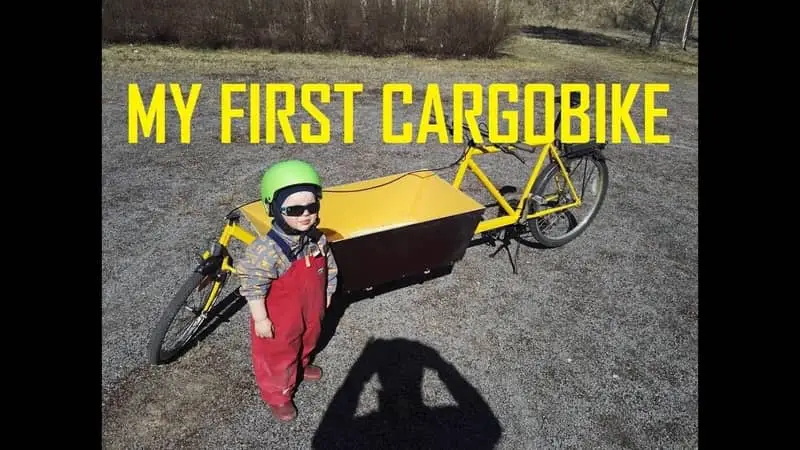
I’m to build a cargo bike, but my budget is quite limited. I would like to buy a cargo bike but their prices are much too high. So I’m going to make it myself. In this article, you find DIY easy and cheap cargo bike plans that I have found on the Internet and put ones I like the most on this list. In the end, it can not be that difficult and I think I can make it myself. Probably it won’t look like a new stylish cargo bike from the bike shop, but for sure it’s going to be unique.
I will describe shortly each and every project and point out what kind of tools you need. There also will be links to the source page, so you can follow the original tutorial and see each step clearly on the photos.

Enjoy reading. I hope you will find here an inspiration. If you’ve built a cargo bike before, please share with me your experience.
Why Cargo Bike?
I would like to have a cargo bike because it is very useful. If you live in a crowded city it is just a perfect choice. You can transport almost everything on a daily basis and if there is heavy traffic it is possible to ride faster on your bike than by car. Of course not in every place in the world, but if there is a good infrastructure then for sure it’s possible.
If I can go to the city center on a bike and bring all the needed groceries this way it is a great saving to my home budget. I don’t have to pay for petrol, parking and additionally it is healthy.
Why DIY?
There are many reasons why would I do a cargo bike by myself. The first and foremost because of the high prices of brand new bikes. I can make a unique bike on my own with an investment of let’s say $100 or even less because it depends on how many materials I am going to get for free.
Another reason is that the things you buy never make you feel like things you make yourself, so I am going to take it as an adventure and just have fun.
Project 1 from Carkat
The first project today comes from Carkat. You can find this and other projects of him on the site http://www.instructables.com.In this tutorial, he builds 2 wheels Dutch style cargo bike. I can see a lot of them on streets of Amsterdam and I would like to build something very similar to this.

If you go to the website I provided above you can also download plans and print them out. It would be much easier to follow step by step guidance while building a bike.
Materials:
- two old donor frames
- bike fork
- ball joints
- long brake wire
- wood for a front basket
- screws
- paint
- welding machine, a drill
Skills:
- welding skill
- basic manual skills
If you can weld or you know someone who can help you with that it can be a pretty easy project to do. I think I am going to make this one as it seems very easy and the result is amazing. On the Instructables site, you can see that few people already made this project and it looks very good. It can’t be that difficult 🙂
It is also important to keep in mind that the front basket full of groceries or with 2 – 3 children in it is going to be heavy. Consider area you live in, because if a terrain is mountainous you may need an engine. There are multiple options if you want to speed up your bike. You can find more articles on this blog that will help you do this.
Project 2 from Carkat
You already think that I like projects of Carkat. Yes, I do, because I like easily explained projects. He also makes sturdy, very good looking bikes. This project is different than the first one. It is also cargo bike with a front basket, but instead of a wheel in front of the basket, this one has two wheels on the sides of the front basket.

Steering, in this case, is the main difference. If you would like to learn more about steering of this bike you need to jump into the original tutorial HERE. You can also continue reading to learn about basic materials needed for this project.
This kind of front basket cargo bike is very popular in The Netherlands when people want to ride together with their children. I’ve seen even up to 4 children and a dog in a basket like above. It is for sure very sturdy and safe, but if you would like to buy a new one you end up broke. They can be very very expensive, so jump directly into this tutorial, so you can make this bike on a budget.
Materials:
- An old crappy bike made of steel (you can check it with a magnet, a magnet won’t stick to aluminum)
- Steel tubes (for a frame)
- Two wheels of the same size
- Two brakes from your old bike
- Wood, paint, and screws for a basket
- Brake adapter
- Adjustable steering damper
Skills:
- Manual skills
- Welding skills
For more information and photos please visit a site I pointed above. This bike looks a little bit like an ice cart and of course, you can adjust cargo bike like this to ice cart. It can be pretty easy and if you are interested in bike businesses you should definitely read my another article on 21 bike business ideas.
Project 3 by the Unknownrider
This is a very in-depth guide on how to build a cargo bike. Here you can find many pieces of information and tips that aren’t covered in other projects. Even if you don’t choose this guide, it’s a good idea to read carefully tips author is sharing with us.

I like this tutorial a lot because this bike is built by a guy who has no experience with cargo bikes. He based his project on two other websites that he shares in his article.
Materials:
- 26-inch rigid mountain bike
- 40×40 RHS mild steel
- Children’s 20-inch BMX
- 20×20 RHS steel
- 31.8mm steel Gal tubing (1.6 wall thickness)
- 19.1mm steel Gal tubing
If you would like to read this step by step guide you need to follow this link. Remember that I describe projects only a little bit and by reading a full article you can learn much more. Some of the articles from this ranking are very well written and will guide you through the full process of building a cargo bike. Some of them are easy, some of them are more complex and I am sure you choose something out of this few projects.
Project 4 by GulioC14
This is an inspiring story of the birth of a passion. I can tell you only this: the first cargo bike creation wasn’t their last one, but it turned into something bigger. The author of this step by step guide believes that cargo bikes can really make a difference in urban mobility and that’s why he shares his experience with others.

Skills
- cutting
- grinding
- welding
- painting
So let’s jump right into it. Here is a link to a source site so you can read a step by step guide. This bike is pretty impressive. For me, it looks like a brand new cargo bike. You will be surprised when you see how it looked on the beginning.
Project 5 by henryric
Here it is – very innovative and easy to make cargo bike. Most importantly this is a project on budget. Henryric from Instructables made an amazing guide on how to make a cargo bike on the cheap.

For this project you basically need:
- old steel mountain bike
- a metal shopping cart
- fork and a head tube from an old kids bike
Henry names also other materials needed for this project:
- 6 foot of steel 3/4″ square tube stock
- 3 foot of steel 1/2″ square tube stock
- 8 foot of 3/4″ metal conduit/EMT
- 4-inch x 1-1/2″ piece of 1/8″ steel sheet/bar stock
- (3) 2 inch x 1/4″ bolts with locknuts
- 3 foot of steel 1/2″ round tube stock
- A small piece of 3/16″ steel plate
- 2 foot of 1 inch steel angle stock
- 6 foot of 3/4″ metal conduit/EMT
Tools
- Angle grinder
- Metal Cut-off saw
- Welding machine
- Miscellaneous spring, bar clamps, stock for clamping jigs for welding
- Anvil [made from a train rail] & 3-pound sledge
- Metal vise
- Soapstone marker
- Drill
Keep in mind that all needed parts should be metal. It’s crucial for welding.
Henry’s project is very detailed and easy to follow. I think this is one of the easiest cargo bike projects to do. Because the front basket is made of a shopping cart you don’t need to worry about how to build it and for sure it looks very unique.
Project 6 by ulyssanov
This is a great guide for you if you don’t have access to any power tools and you have no space such as a garage where it’s more comfortable to build a bike. Often we give up our plans because we lack resources, but Ulyssanov shows it is not about resources but creativeness and determination. You can weld your bike even in the kitchen, so don’t wait with your project for a better time. Just do it. Ok, enough motivation, let’s jump right into this project.

Visit this website to get more photos and more in-depth plan how to build this cargo bike. This is a very good beginner course and you can learn a lot from it, especially how to build a cargo bike without power tools.
You should also visit his youtube channel where you can find few videos about cargo bike construction. Here you can find a link.
The finished bike look very sturdy. I like the design of the front basket.
Project 7 by Hemmpa
If you are looking for a low-cost project than you should definitely go for this one. Of course, the final price depends on what kind of materials and tools you already have. Author of this bike spent only $40 for two old bikes and that’s all investment. It is a very good price for a cargo bike as you probably already know and I love the result. He also had a great support of his son in the process of the building 🙂

Materials
- two old bikes ( mountain bike 26″ and childrens bike 20″)
- 40×40 steel tubes
- steel pipe for steering and support
- paint
- wood for front basket or any other material you use for it.
You will also need a welder and a safety gear such as mask and leather gloves.
Here you can watch a video guide on how to build this cargo bike.
Project 8 by Blake Thomas
This is a video guide, so you won’t find any article by Blake Thomas on this project, but the video is done very well and you can see exactly what you need to do step by step. He also mentions in the very beginning what is needed for this cargo bike and I am going to name necessary materials, but to see full material list make sure to watch a video here.

Materials:
- old bike
- square tubes 1,5″ x 1.5″ x 0.065″ thick for the frame
- the wedling machine, auto darkening welding helmet and welding gloves
- drill
- cheap digital caliper and protractor
- metal saw
- free tube notching software
- primer and paint
- custom brake and shift cables
- materials for front basket
Project 9 by Felix
This cargo bike guide is based on the fatherhood story. Felix, the author of this cargo bike made it when he wanted to ride together with his child. Trailers and child carriers, according to him were too dangerous so he started learning how to build his own cargo bike. Two-wheeled cargo bike seemed to be the perfect solution. After all, bakfiets is used every day by thousands of parents in the Netherlands and Denmark.

Because Felix lives in New Zeland and it is difficult to get a brand new cargo bike there he had to do it on his own. Thanks to that we can learn from his experience by reading his easy and clear guide.
All of the previous constructors had some welding skills. Felix, unfortunately, doesn’t but he knows somebody who can do it for him. If you don’t have some manual skills needed for this project, remember that you can always ask friends for help.
Felix, unlike other writers, explains how he built the front basket. He uses 9 mm plywood for sides and a bottom. To connect plywood he uses aluminum angles connected with M5 countersunk screws to T nuts.
Follow this link to read a full article and see all Felix photos.
Project 10 by mlavis
Mlavis consider many possibilities of building to make an enjoyable machine in use. His tips are very helpful, so do not hesitate to read a full article including photos. You can find a link here.

The goal of Mlavis is to build an affordable 2 wheel cargo bike with space for 2/3 kids and comfortable riding geometry. The bike must also have wide tires to cross difficult terrains such as gravel or dirt. The author considers an option of building an electric cargo bike by using electric conversion kit Bafang 750W. You can find Bafang kit here.
This tutorial is full of tips and his way of work is a little different than the other constructors. This short guide contains a lot of crucial information and tips. You should definitely look into this project. Even if you plan to build something different this article may help you a lot.
Each and every of above projects requires some manual skills. Very often you need to use electric devices such as a drill or a grinder. You know this for sure, but never forget to wear gloves, protective glasses, and earplugs. The safety is most important.
I can’t wait to see results of your work. As soon as I finish my project I am going to share it with you! 🙂